Upload driver records

Admin can upload driver records one by one or in bulk at once. By having all driver records in a digital format, fleet managers can easily access and organize important information, which can save time and resources when compared to manual record-keeping.
To get started
- Login to your account.
- Go to Settings > General > Driver
The page you land on is the driver overview page where you can have a look at all the driver records.
To upload records individually
- Click on the ➕ button on the taskbar.

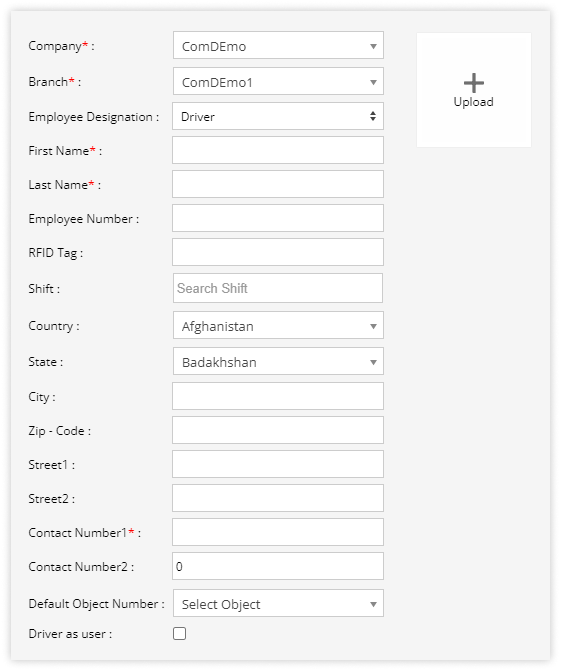
Navigate to Profile
-
- Select the Company from the dropdown list.
- Select the Branch from the dropdown list.
- Select the Employee designation from the dropdown list.
- Enter the Employee name as asked.
-
- Enter the RFID Tag number.
- Select the Shift if the driver has to work during the shift time.
- Add the Address details of the employee.
- Enter the Contact number of the employee.
- Select Driver as User, If a client wants to use the driver application and driver will log in with the application.
Navigate to Document
Users can manage documents of the drivers in one place.
-
- Click on the Save 💾 icon.
To upload multiple records
- Click on the upload button on the taskbar. A new driver bulk upload window opens.

- Select the Company from the dropdown list.
- Select the Branch from the dropdown list.
- Select the Country in which the branch belongs.
- Select the Employee Designation from the dropdown list.
- Select how you want to check the verification from the dropdown list.
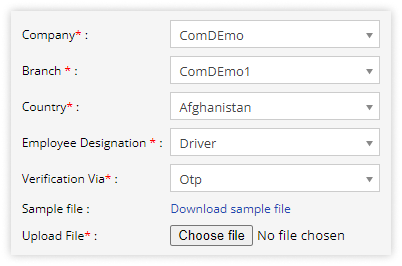
- Download the sample file from the link given. The file will hold the basic information about the driver such as driver name, driver contact number, state, city, RFID tag details etc.

- Upload the XLS file with after filling up the details.
- Click on the save 💾 icon.